Introduction
Blue Cave is a developer tool that brings static code analysis and test coverage into your CI workflow such as GitHub Workflows. It helps developers catch bugs, flag risky code, and enforce quality standards automatically through our critical issues, touch-ups and coverage analysis.
Our goal is to help you simply keep your code beautiful without slowing down development.
At its heart, Blue Cave was built with a focus on large monorepos in mind, and is designed to scale to any project size, without compromising on developer iteration speed.
Analyzing your Repository
This guide helps you get Blue Cave up and running on your repository in GitHub for Static Analysis and Coverage. Using another repository provider? Please reach out to us at [email protected].
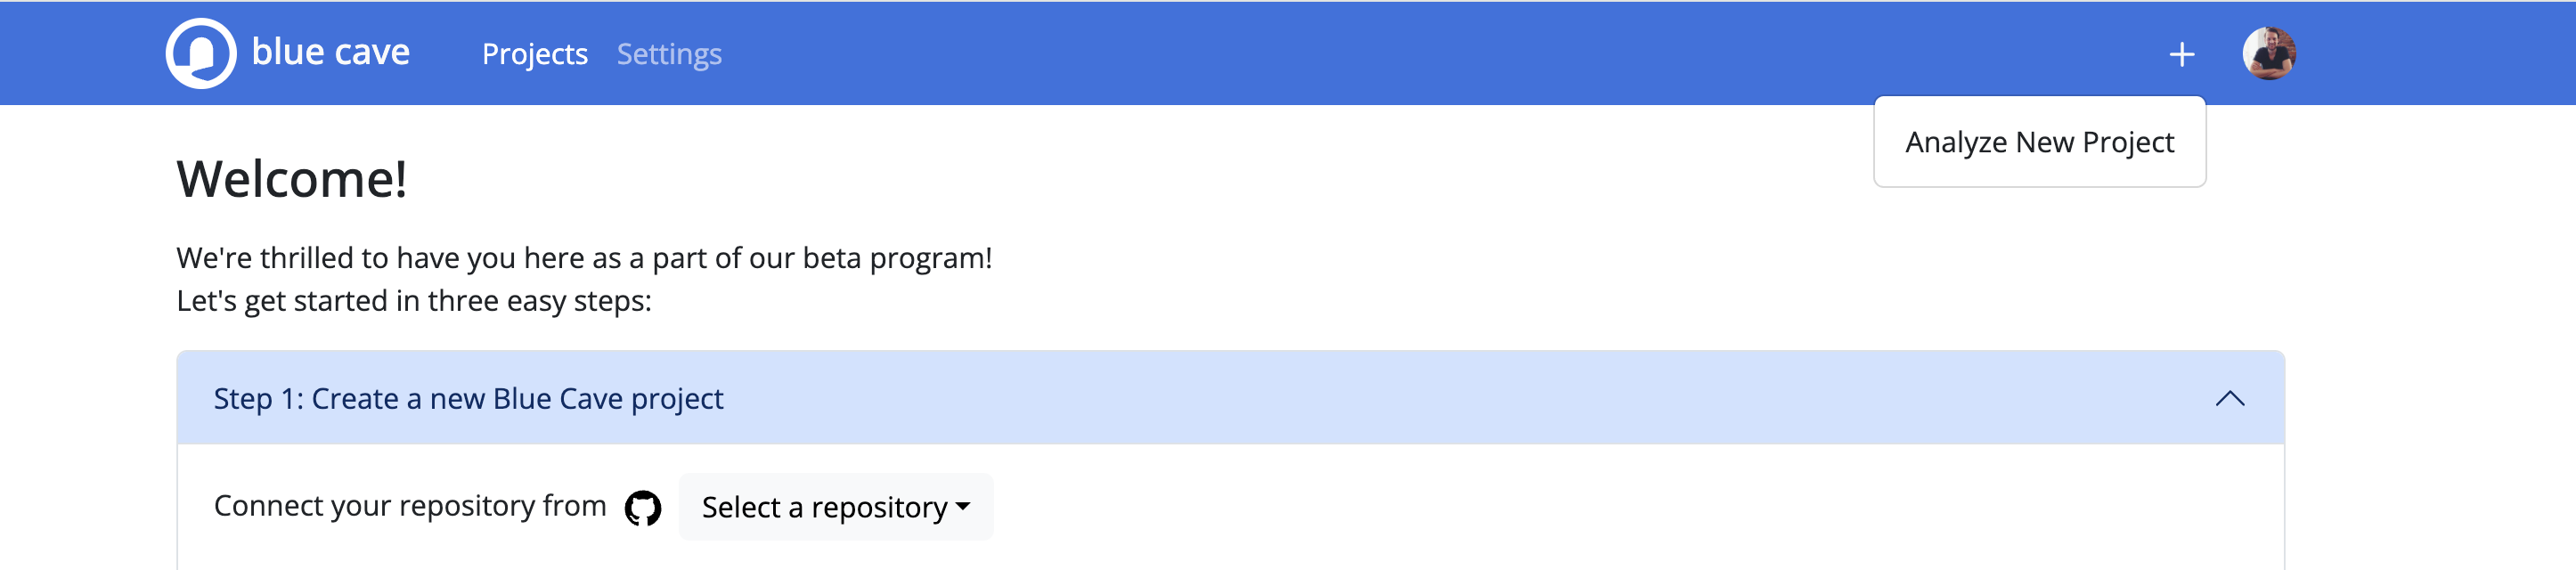
- Log-in to Blue Cave, and click on + (top right corner) → Analyze New Project.
- Select your repository from the dropdown → Select a repository.
If your repo isn’t listed, click update your installation and grant Blue Cave access to that org/repo.
Add your project token
Copy the project token under your project (Step 2), and add it to GitHub Secrets (or other CI) for your repository as BLUECAVE_TOKEN.
Settings → Secrets and variables → Actions → New repository secret

Analyze and report coverage
Follow the instructions for your language:
- ☕ Java
- More languages coming soon!
If you run into any trouble, please open an issue 😃
Update your CI
Here's an example of updating your CI to run Blue Cave, if using GitHub Actions:
- name: Analyze and Report Coverage to Blue Cave
  env:
    BLUECAVE_TOKEN: ${{ secrets.BLUECAVE_TOKEN }}
    PR_SHA: ${{ github.event.pull_request.head.sha }}
  run: ./gradlew bluecaveReport
See a complete working example of a GitHub workflow here.
Switching Projects
To switch between projects, follow the following steps:
- Go to Projects and select the desired project from the list
- If it’s not listed, click on + (top right corner) → Analyze New Project
- Follow the Getting Started section to create a new project